One-Time Events
One-time events can be used for doctor appointments, playdates, parent-teacher interviews, and more. For instructions on creating and managing repeating events, click here.
In this tutorial:
Creating one-time events

-
From the Add Item menu, select Event.
-
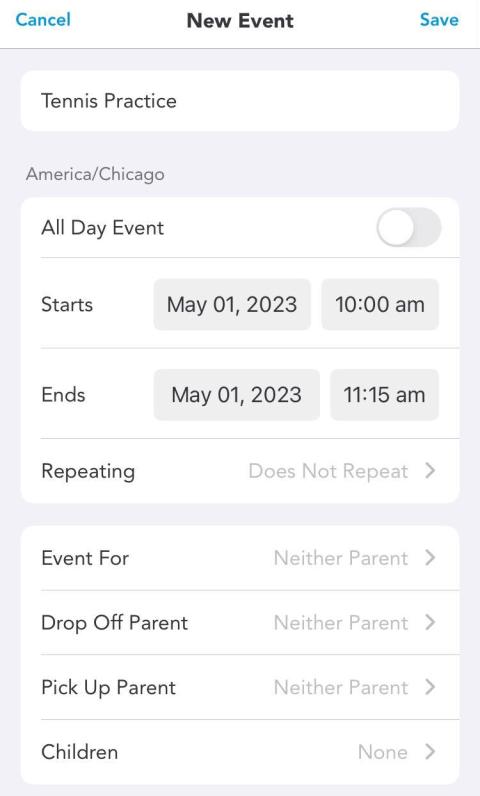
Complete all required fields, which include a title for the event, a start date and time for the event, and end date and time for the event. All other fields are optional, but you are encouraged to fill out these fields.
-
If the event you're entering is scheduled for all day, you can simply toggle the All Day Event option rather than input "Begins" and "Ends" information.
-
-
Additional, optional fields include:
-
Event For: Indicate whether or not the event is for a particular parent.
-
Pick-Up and Drop-Off Responsibilities: This will note which parent will be bringing and retrieving the child(ren) from the event. The start and end times for the event will be colour-coded to indicate which parent is responsible.
-
Children: Indicate which children, if any, are involved with the event.
-
Location: Indicate where the event will take place.
-
Sharing: Events are set to shared by default. If you'd like to make it private so only you can see it, toggle the “Private Event” option.
-
Reminder: Set a reminder for yourself about this event.
-
Note: Add a brief note about the event in question.
-
-
Tap Save at the bottom-right corner of your screen to save your event.
Editing or removing one-time events

-
In the main menu, select the Calendar icon.
-
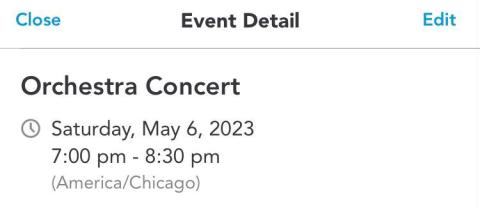
Navigate to the date on which your event occurs and tap on it. Then tap on the event to view it.
-
Only the creator of an event can edit or delete it. Events that have already begun or are in the past cannot be modified in any way, even by the creator.
-
Edit: Tap Edit in the top-right corner of your screen. Once you've made your changes, tap Save.
-
Delete: Tap Edit in the top-right corner. Then scroll to the bottom of the even and tap Delete. If this event was viewable to your co-parent, they will receive a Notification to alert them that this event has been deleted.
-
Finding new events created by your co-parent
If you're ever alerted to a new event created by your co-parent—either through email, text, or push notification—you can quickly and easily locate that event by using the Notifications folder in your OurFamilyWizard Message Board.
- From the app's main navigation menu, tap the Messages icon. Once in Messages, select Notifications from your list of folders.
- For every new event created by your co-parent, you'll receive a message with the subject New Event Created.
- The message will contain details about the new event that was created. To go to the event on the calendar and see the complete entry, tap on the Click to view link located at the end of the message.
- In the event details, you will be able to see the date, time, and place of the event as well as any other pertinent information that your co-parent included when creating the event.
Why can't I delete an event?
There are two reasons an event cannot be edited or deleted.
- Your co-parent parent or someone else created the event. You can only delete or edit events that you have created.
- The event has passed. Once an event becomes historical, it cannot be edited or deleted on the website. This is done to protect the integrity of your information.
However, you can create Moments in the OurFamilyWizard Journal to document details about historical or upcoming events.